Replacing Your Pool Liner in Mississauga: What the Process Actually Looks Like
If your vinyl pool liner has seen better days, you are not alone. Homeowners across South Mississauga, from Port Credit to Lakeview, Clarkson to Mineola, are dealing with the same reality: vinyl liners have a finite lifespan, and when they go, they need to come out. The good news is that a liner replacement is one of the most transformative things you can do for an aging pool without a full rebuild. Done well, a new liner changes the look, feel, and watertightness of the pool in a single project.
If you are not sure whether your liner has reached the end of its useful life, start with our guide on how long a pool liner lasts in Ontario and our breakdown of the signs your pool liner needs replacing. This guide picks up from there and walks through what the replacement process looks like from start to finish, what choices you will need to make along the way, and how to set realistic expectations for the project.
Signs You Are Ready for a New Liner
Before committing to a replacement, confirm that a new liner is actually what the pool needs. The following are the most common indicators that it is time to move forward.
- Visible cracks or tears in the liner material, particularly along the floor or at the waterline bead.
- Persistent water loss that you have confirmed is coming from the liner rather than the plumbing, using a bucket test.
- Fading, staining, or bleaching that has gone beyond what cleaning can address, leaving the pool looking permanently tired.
- Wrinkling or bagging on the pool floor, which indicates the liner has stretched beyond recovery and will not re-tension.
- Brittleness around the waterline or at the skimmer and return fittings, where the liner material cracks when flexed.
- A liner that is 15 or more years old. Most vinyl liners in Ontario’s climate have an effective service life of 10 to 15 years under normal conditions.
If you are seeing multiple items from that list, a replacement is almost certainly the right call. If you are only seeing one or two, a professional assessment can help you determine whether a patch repair is viable or whether a full replacement is the more cost-effective path.
Step by Step: What the Liner Replacement Process Involves
Step 1: Measurement and Liner Ordering
A vinyl liner is a custom product. It is measured and manufactured to fit the specific dimensions of your pool, including the shape, depth at various points, any steps or benches, and the bead track profile around the perimeter. A pool contractor will take detailed measurements before anything is ordered.
The lead time for a custom liner can range from a couple of weeks to several weeks depending on the manufacturer, the pattern selected, and the time of season. Spring and early summer are the busiest period for liner replacements, so ordering early is important if you want the pool ready for peak season. Fall replacements are an option for homeowners who want to avoid the summer rush and have the pool ready for the following year’s opening.
Step 2: Draining the Pool
The pool is fully drained before the old liner is removed. Depending on your municipality, there are specific guidelines for where pool water can be discharged. A qualified contractor will handle the drain in a way that complies with local requirements.
Step 3: Removing the Old Liner
The old liner is pulled from the bead track around the perimeter and removed from the pool. Vinyl liner material is not reusable, and the old liner is disposed of at this stage. This also exposes the pool shell and floor for inspection.
Step 4: Pool Shell Inspection and Repair
With the liner out, the contractor inspects the pool walls and floor. In a steel-wall vinyl liner pool, the walls are checked for rust, corrosion, or damage. In a polymer-wall pool, the panels are checked for cracking or deformation. The pool floor, typically a mix of vermiculite and cement, is checked for unevenness, cracks, or areas where the substrate has shifted.
Any repairs to the floor or walls are completed before the new liner goes in. This is the one phase of a liner replacement where additional scope can arise unexpectedly. A pool contractor who does not inspect the shell before quoting the full job is leaving a variable unaccounted for. At Destination Pools and Landscaping, we include a thorough inspection at this stage so there are no surprises partway through the project.
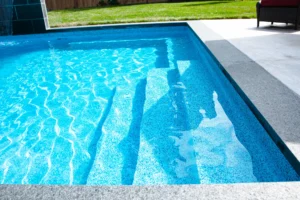
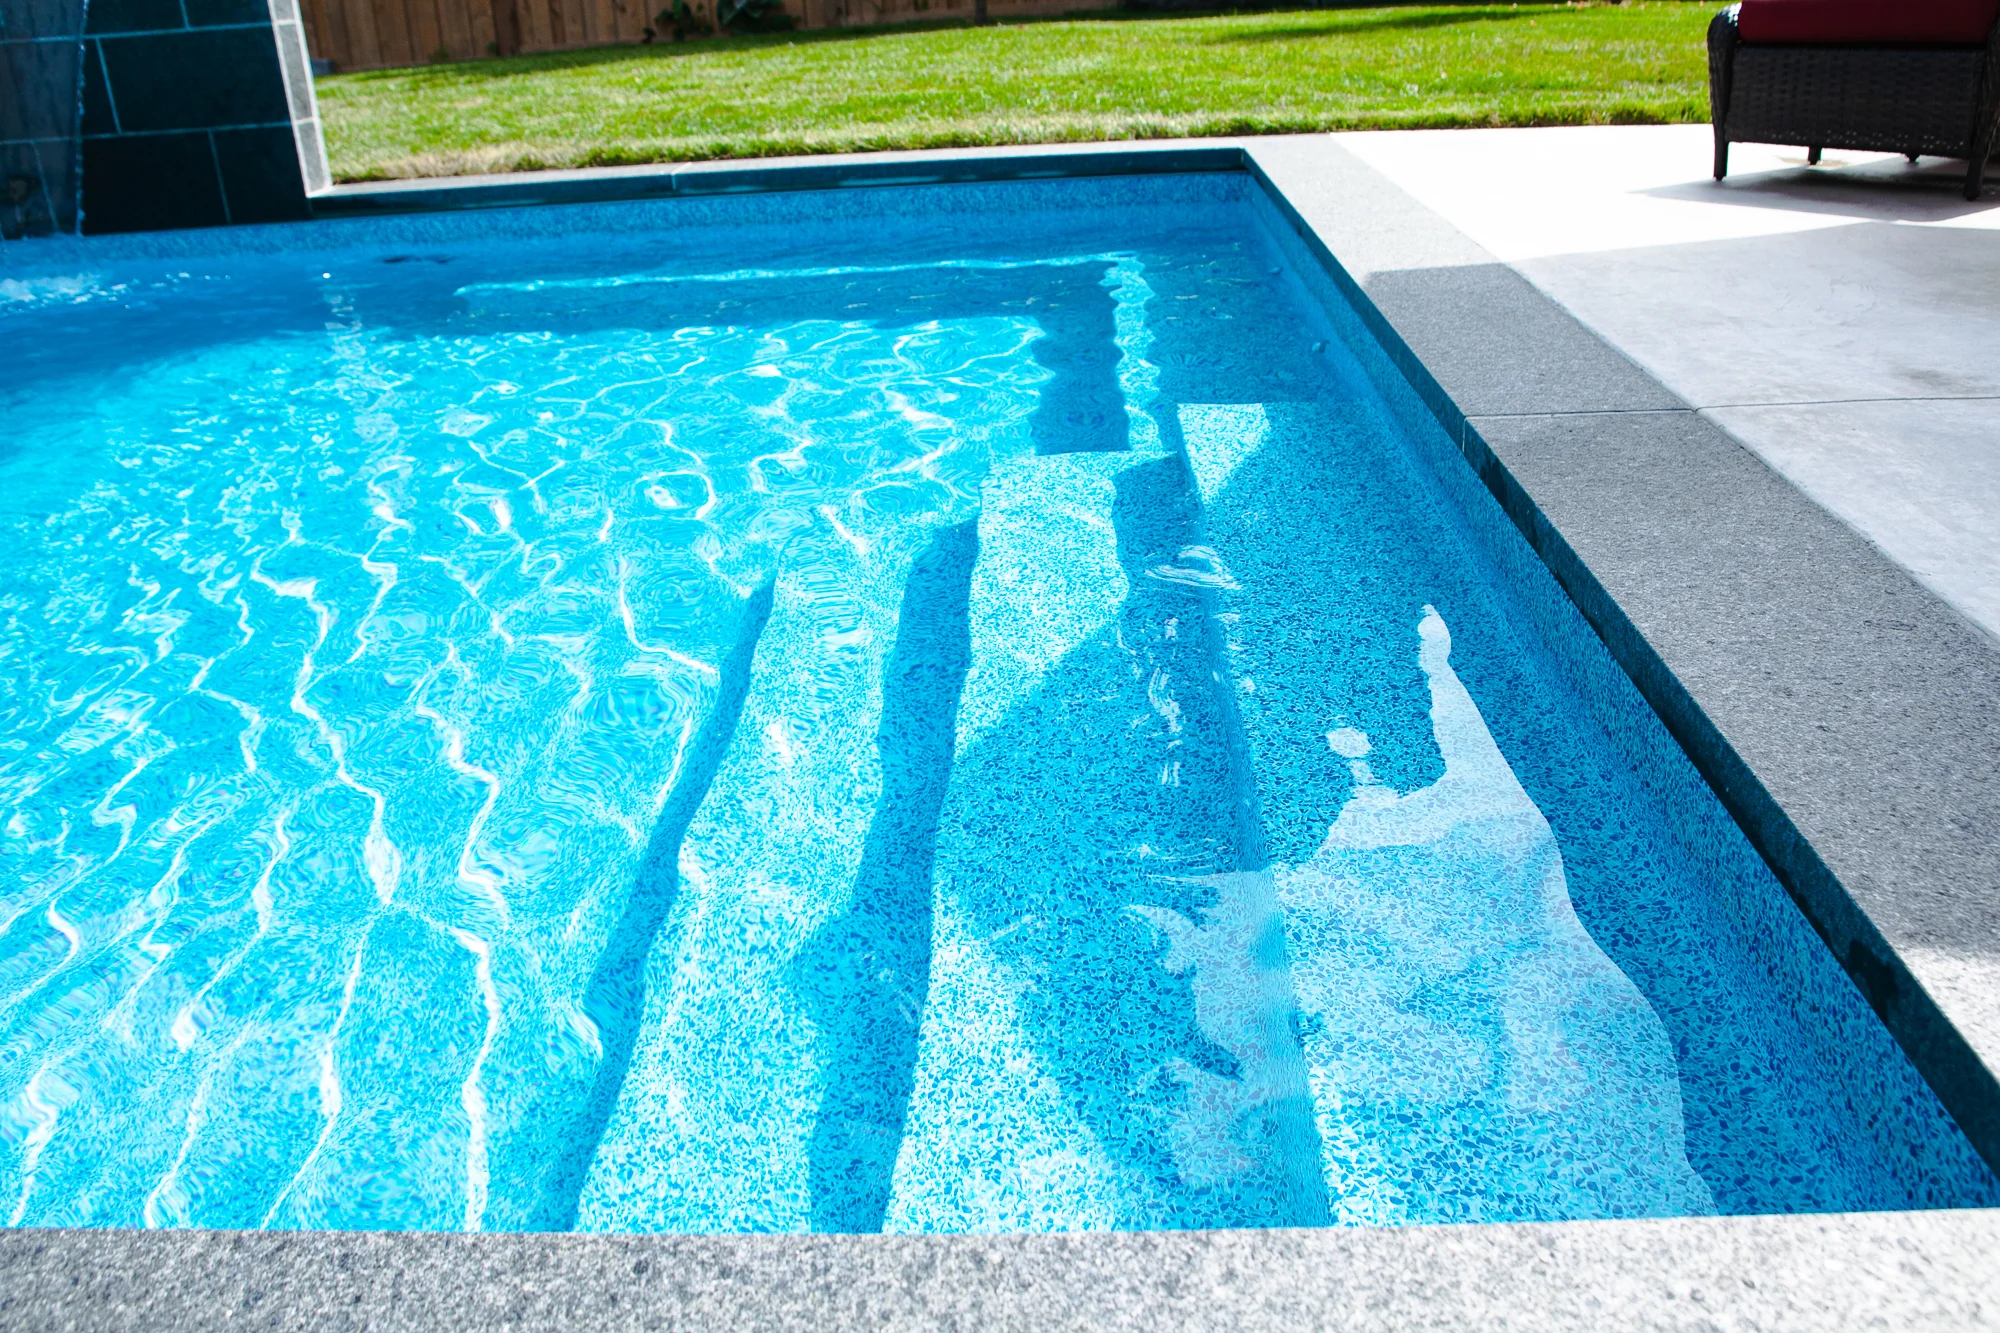
Step 5: Installing the New Liner
The new liner is set into the pool and the bead is fitted into the track around the perimeter. A vacuum is pulled between the liner and the pool walls to remove any trapped air and pull the liner into a wrinkle-free fit against the floor and walls before water is added. All fittings, including skimmer faceplates, return escutcheons, and light bezels, are cut in and reinstalled at this stage.
Step 6: Filling and Balancing
The pool is filled with fresh water. While the pool fills, the contractor monitors the liner to ensure it is seating properly without pulling away from the bead or developing wrinkles on the floor. Once the pool reaches the correct water level, the chemical balance is established and the circulation system is brought back online.
Choosing Your New Liner: What the Options Mean
Liner Thickness
Vinyl liners are typically available in 20 mil, 27 mil, and 30 mil thicknesses. Mil refers to thousandths of an inch. A thicker liner resists punctures, abrasion, and UV degradation better than a thinner one and typically comes with a longer manufacturer warranty. The floor is usually reinforced to a greater thickness than the walls regardless of the overall spec.
| Thickness | General Use | Relative Durability | Typical Warranty |
|---|---|---|---|
| 20 mil | Entry-level residential | Standard | Varies by manufacturer |
| 27 mil | Mid-range residential | Good | Varies by manufacturer |
| 30 mil | Premium residential | Highest | Longest available |
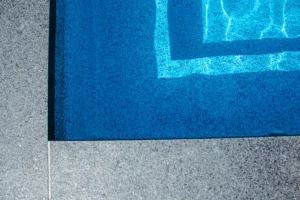
Pattern and Colour
Liner patterns are a matter of preference, but there are a few practical considerations worth keeping in mind. Darker colours and patterns absorb more solar heat, which can help extend your swimming season by a few degrees. Lighter, solid colours make it easier to see the pool floor clearly, which is relevant for safety and for spotting debris quickly. Tile-border patterns are the most popular visual choice for their resemblance to a tiled pool finish.
If you are considering how your liner colour will interact with your surrounding deck and landscaping, it is worth browsing pattern options alongside your outdoor design rather than choosing independently.
Bead Style
The bead is the edge of the liner that locks into the track around the pool perimeter. The most common styles are the J-bead (hooks into a standard track) and the overlap bead (drapes over the wall and is clamped under the coping). Most modern pools use a beaded track installation. Your contractor will confirm which bead style is compatible with your existing pool structure during the measurement stage.
Timing: When Is the Best Time for a Liner Replacement in Mississauga?
Spring is the most popular time for liner replacements because homeowners want to open the pool for summer with a fresh liner already in. The trade-off is that spring is also the busiest season for pool contractors across the GTA, which means longer lead times and tighter scheduling.
Fall replacements are worth considering for homeowners who want more scheduling flexibility and can plan ahead. Getting the project done in September or October means the pool is ready for an easy opening the following May, without competing with peak demand. Some Mississauga homeowners in Port Credit and Clarkson use the fall window to combine a liner replacement with other backyard work, such as deck refinishing or landscape clean-up, before winter.
Mid-summer liner replacements are possible but less common, since they require draining the pool during the warmest weeks of the season. If you are dealing with a liner failure mid-season, contact us to discuss availability and timeline.
Combining a Liner Replacement With Broader Backyard Work
A liner replacement is a natural moment to take stock of the rest of your outdoor space. With the pool drained and the contractor on-site, it is often efficient to address other deferred maintenance or improvements at the same time.
Pool deck resurfacing pairs well with a liner replacement since the pool is already out of service. If your pool deck in Lakeview or Mineola has seen better days, combining a liner project with deck work eliminates a second disruption. Similarly, homeowners thinking about adding a custom deck or an outdoor kitchen alongside the pool often find that tackling both in the same season produces a more cohesive result than staggering them across years.
A new liner is also an opportunity to revisit the overall design of the pool area. Pairing a fresh liner with updated coping, new interior lighting, or a resurfaced surround can elevate the look of a pool from functional to genuinely impressive.
If you are weighing whether a liner replacement is the right scope or whether a more comprehensive restoration makes sense for your pool, our guide on pool renovation, restoration, and resurfacing covers the full range of options and how to evaluate the right level of investment for your pool’s age and condition.
Frequently Asked Questions
How long does a vinyl liner replacement take?
The physical installation of a new liner typically takes one to two days once the liner has been manufactured and delivered to the site. The full timeline from initial consultation to a filled and balanced pool is usually two to four weeks, accounting for measurement, custom liner manufacturing, and scheduling. Projects in spring may run longer due to seasonal demand.
Do I need to be home during the liner replacement?
You do not need to be present for the full project, but it is helpful to be available at the start of the project for any questions about shell repairs that arise once the old liner is out. Your contractor should confirm the communication plan before the project begins.
Can I patch my liner instead of replacing it?
Small punctures and isolated tears can sometimes be patched effectively using vinyl patch kits, either above or below the waterline. Patching is a reasonable short-term solution for minor damage on a liner that is otherwise in good condition. For a liner with multiple leaks, extensive fading or brittleness, or significant wrinkling, a full replacement is almost always more cost-effective over the next several years than continued patching.
Will my pool need to be completely rebalanced after a liner replacement?
Yes. When you fill the pool with fresh water, the chemical balance starts at zero and needs to be established from scratch. Your contractor will test and balance the water after filling. For the first few weeks after a liner replacement, water chemistry should be monitored more frequently than usual as the fresh liner cures and stabilizes.
Does a liner replacement affect my pool’s structure?
The liner is a separate component from the pool’s structural shell. Replacing the liner does not affect the steel or polymer wall panels, the floor substrate, or the pool’s structural integrity, provided the walls and floor are in sound condition. The shell inspection done during liner removal is the right moment to identify any structural issues that warrant attention.
Book Your Liner Replacement Consultation in Mississauga
At Destination Pools and Landscaping, we serve homeowners across South Mississauga, including Port Credit, Lakeview, Clarkson, and Mineola, as well as across Toronto. Our team handles the full liner replacement process, from professional measurement and liner selection to shell repair, installation, and fill.
We also offer pool liner replacement services across Toronto for homeowners on that side of the water. Whether your project is a straightforward liner swap or part of a broader backyard transformation, we will assess your pool’s current condition and walk you through the options that make sense for your situation.